
News
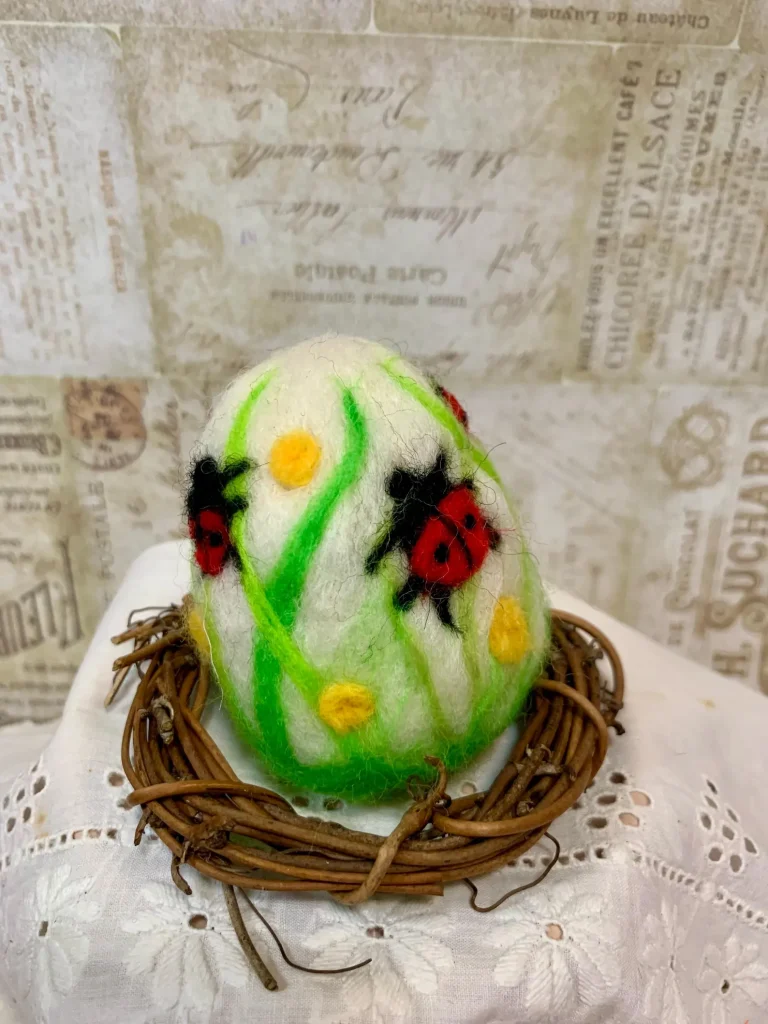
Wet Felting Wonders: Creating Vibrant Easter Eggs
Sep
Introduction
Wet felting is an ancient technique that uses water, soap, and agitation to bind wool fibers together. This method produces a smooth, durable fabric, perfect for crafting decorative items like Easter eggs. This article explores the wet felting process and how to create your own colorful Easter decorations.
Materials Needed
Wool Roving: Select a variety of colors for a vibrant collection.
Warm Water: Facilitates the felting process.
Soap: Mild dish soap works well to help fibers bind.
Plastic Egg Molds: Optional, to shape your eggs uniformly.
Towels: For drying and containing moisture.
Step-by-Step Guide
Layering Wool: Tear wool roving into small pieces and layer them in a crisscross pattern. This ensures even felting.
Shaping: Wrap the layered wool around a plastic egg mold or shape it freehand into an oval.
Wet Felting: Dip the wool-covered mold into warm, soapy water. Gently press and roll it between your hands, gradually increasing pressure as the fibers start to bind.
Rinsing: Once the wool feels firm and holds its shape, rinse it under cold water to remove soap.
Drying: Squeeze out excess water and let the egg dry on a towel for 24-48 hours.
Design Ideas
Marbled Effects: Blend different colored wool for a swirled appearance.
Layered Colors: Add thin layers of contrasting colors for depth.
Embellishments: Once dry, decorate with embroidery, beads, or fabric paint.
Benefits of Wet Felting
Durability: Wet felted items are sturdy and long-lasting.
Smooth Finish: The process yields a sleek, uniform surface.
Eco-Friendly: Uses natural materials and minimal equipment.
Conclusion
Wet felting offers a tactile and satisfying way to create Easter decorations. The process is accessible to all skill levels and results in beautiful, handcrafted eggs that can be cherished for years.